
Learn how to add or delete pictures and videos to create an effective media gallery for successful crowdfunding campaigns.
NOTE: If you cannot see a delete option on your media gallery image, it’s the cover photo! You cannot delete the cover photo. See Part 2 for more details.
Part 1: Adding media #
STEP 1—Under the View Campaign, click the edit pencil at the top right corner of your media gallery.
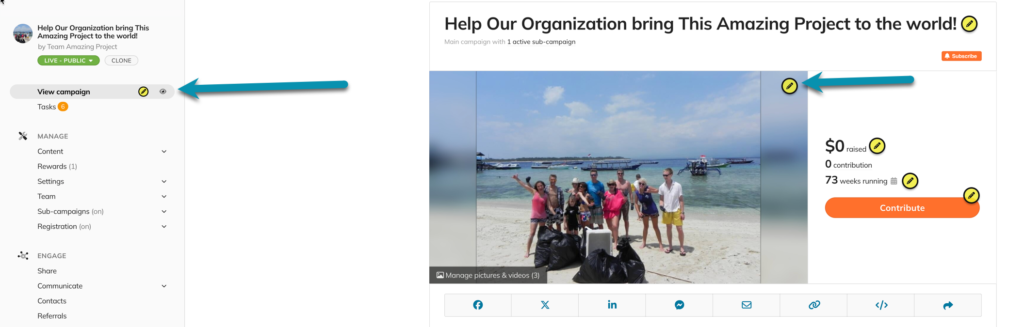
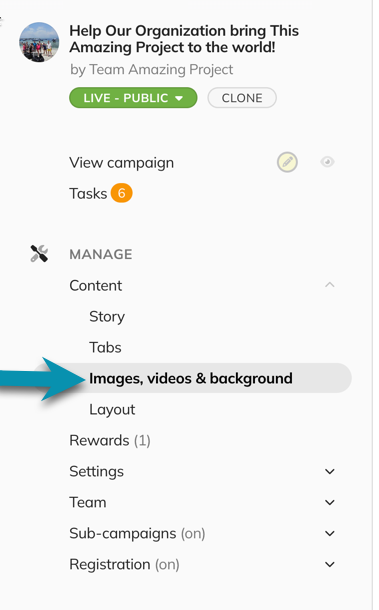
OR click ‘Content’ and then ‘Images, Videos & Background’ in the campaign navigation menu.
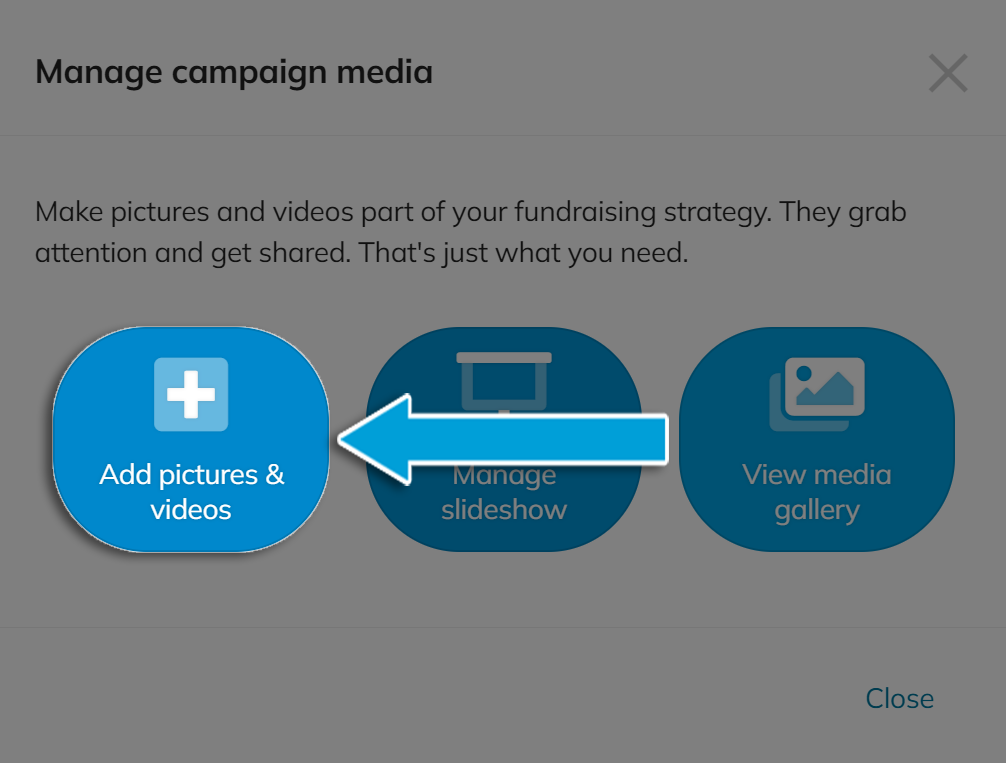
STEP 2 – Click ‘Add pictures & videos’
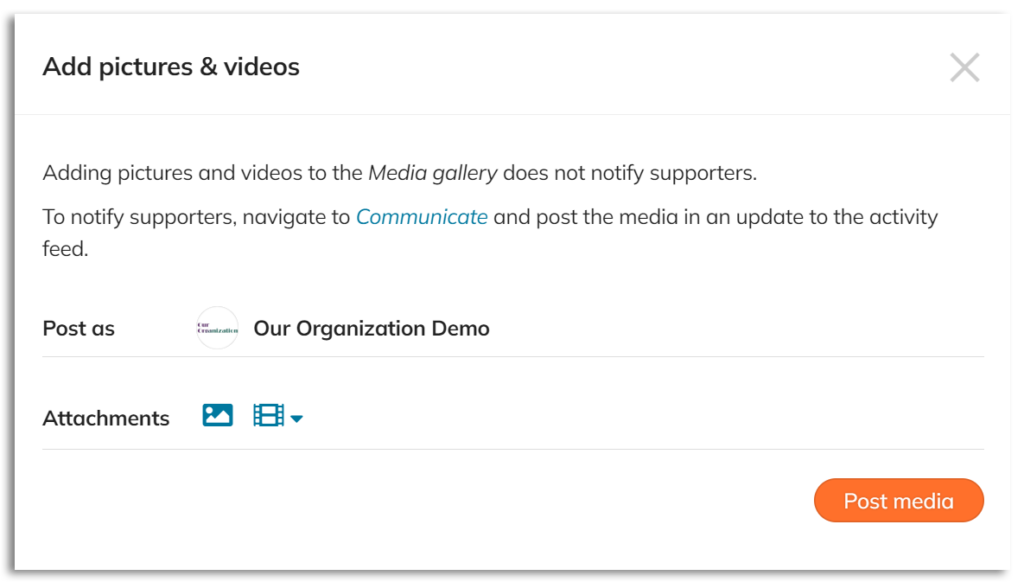
STEP 3 – Choose your media, drag and drop to reorder (NOTE: You will NOT be able to reorder them once uploaded) and click ‘Post Media.’
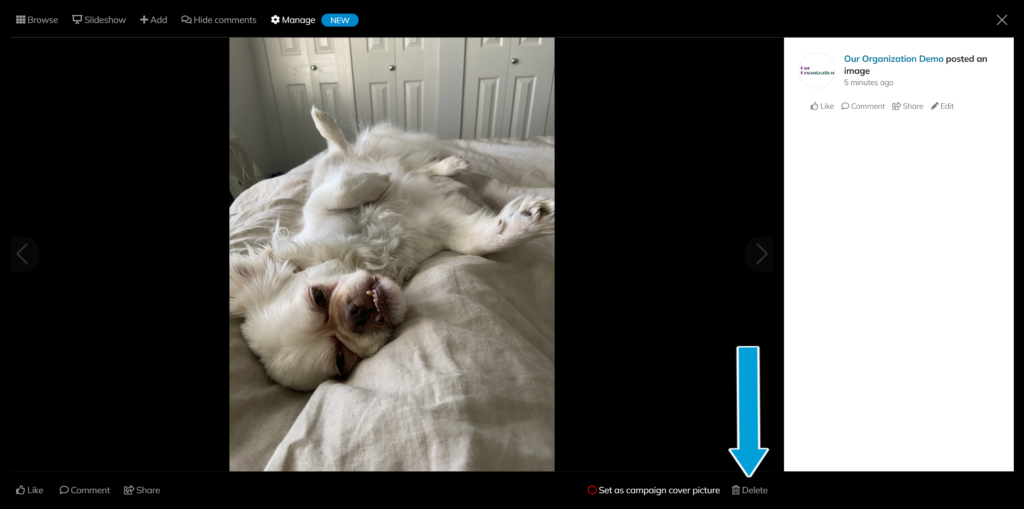
Part 2: Delete pictures or videos from the gallery #
Click on the photo you wish to remove, then click ‘Delete’ at the bottom right side.
IMPORTANT: You cannot delete the cover photo or video without changing it first.
If you do not see this ‘delete’ option on your picture, it has been set as the cover photo. Flip through your pictures and choose a new one (or upload a new image), then click ‘Set as campaign cover photo’ before attempting to delete your current cover photo.


