
Learn how to edit the campaign story – arguably the most important part. It helps supporters connect with your project and encourages contributions. The time you take crafting your story is time well spent!
This article explains how to get to the story editor. We also have plenty of articles in our HUBs on how to write your campaign story, depending on which platform you are using.
- FundRazr & Petfundr- story writing for individual needs or social causes, including campaigns for pet care and animal rescue
- CoCoPay – story writing for medical crowdfunding campaigns
- Crowdfundr – story writing for creative crowdfunding (rewards-based or donation-based) campaigns
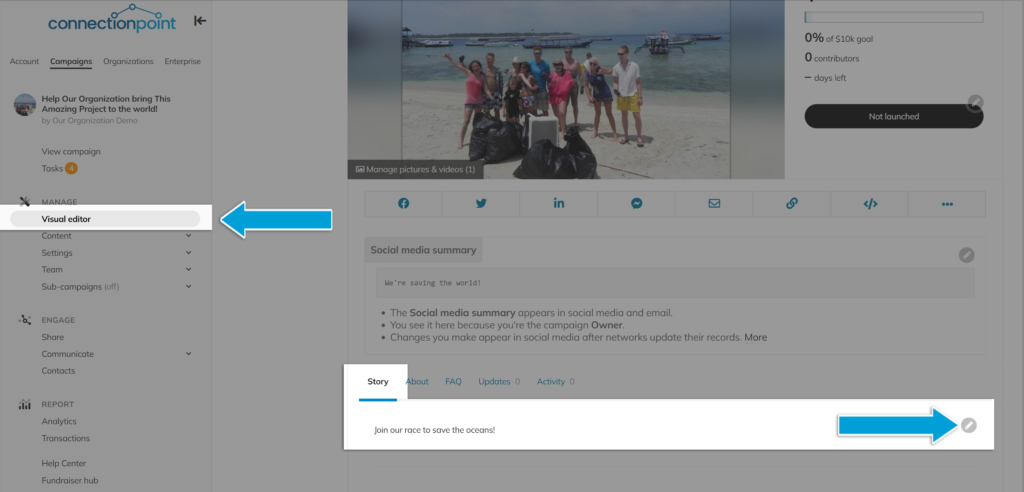
To edit your story from the Visual Editor, make sure it is clicked on, then select the edit pencil in the story window.
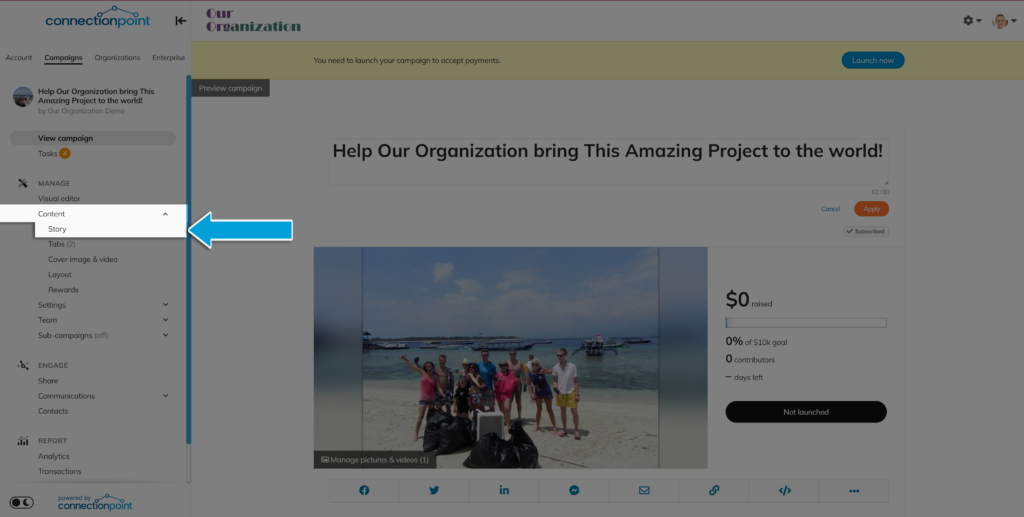
To reach the proper section in the edit menu, click ‘Content’ and then ‘Story.’
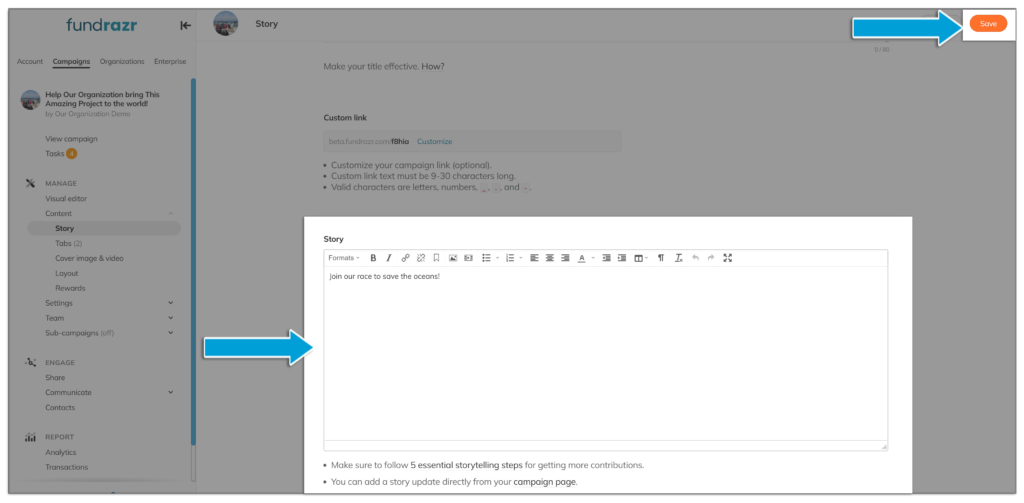
Make your changes and hit ‘Save’ in the upper right corner.
Didn’t find what you’re looking for? Try these details on how to edit the campaign story: #
- Changing font styles and colour
- Anchors
- Videos
- Inserting and resizing pictures
- Extra story tabs
- Story links
- Formatting for desktop and mobile devices
- Story editor FAQ


