
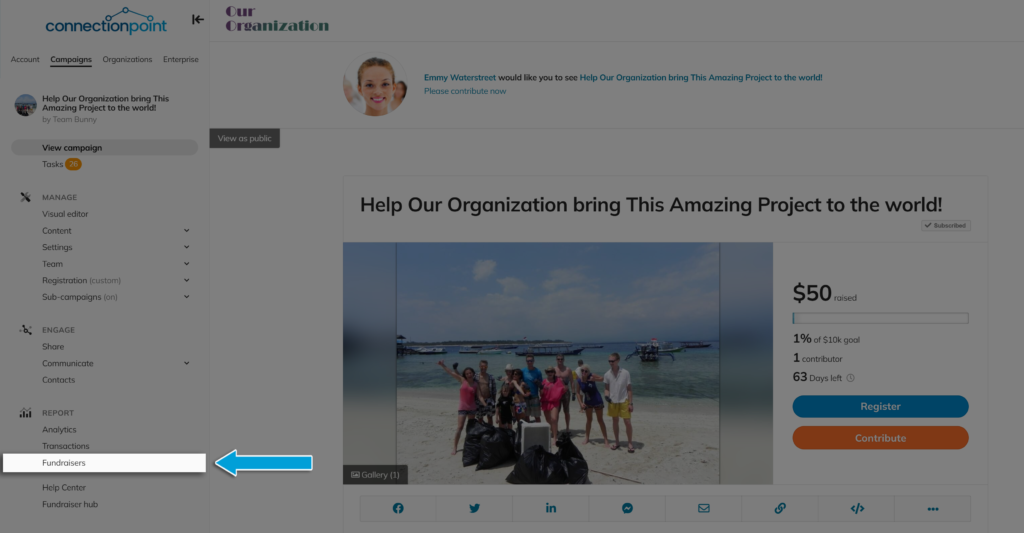
View your registrant information (from fundraisers registering a sub-campaign) may be viewed in the Fundraiser menu of your main campaign.
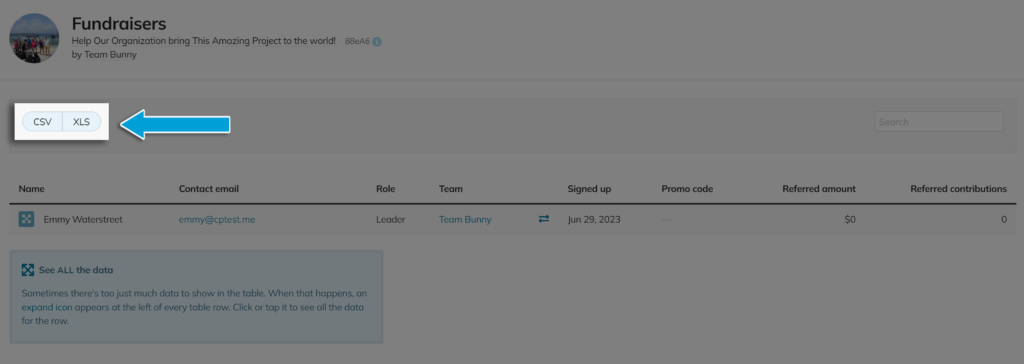
To view the customized registration form information, download the report.
To find out who’s all set with their registration fees and who might need a gentle reminder, just take a look at the “Fee Column.” It’s there to make things easy for you!
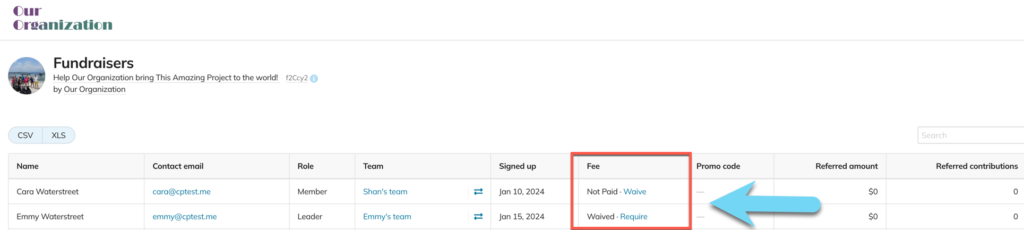
Fee Options:
Not Paid: Team member still needs to pay the registration fee
Paid: Team member has paid the registration fee
Waived: The main campaign has waived the registration fee. (if you click on “require”, the fundraiser will be prompted to pay the fee the next time they visit their campaign page.)


