Adding fees & rewards #
When you add a fee to your registration flow, fundraisers must choose one of your fees. Rewards, however, are not mandatory.
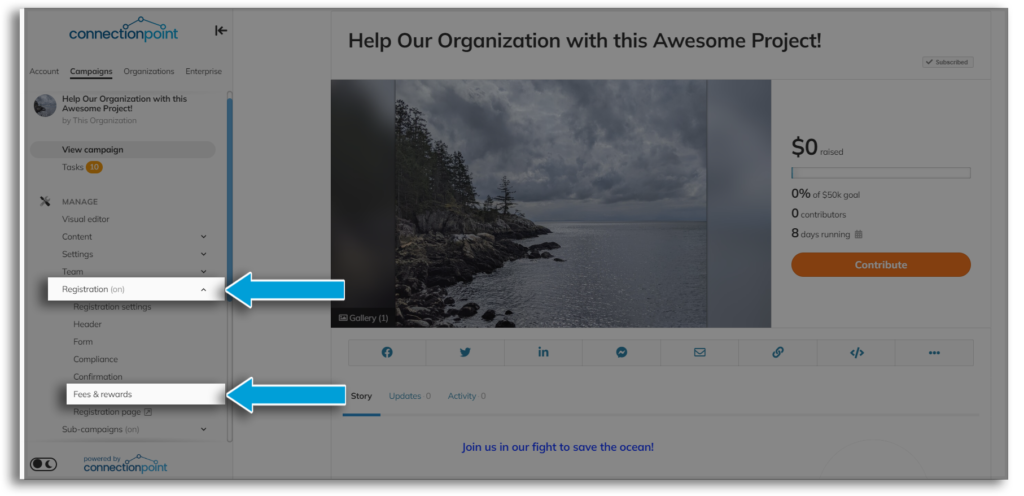
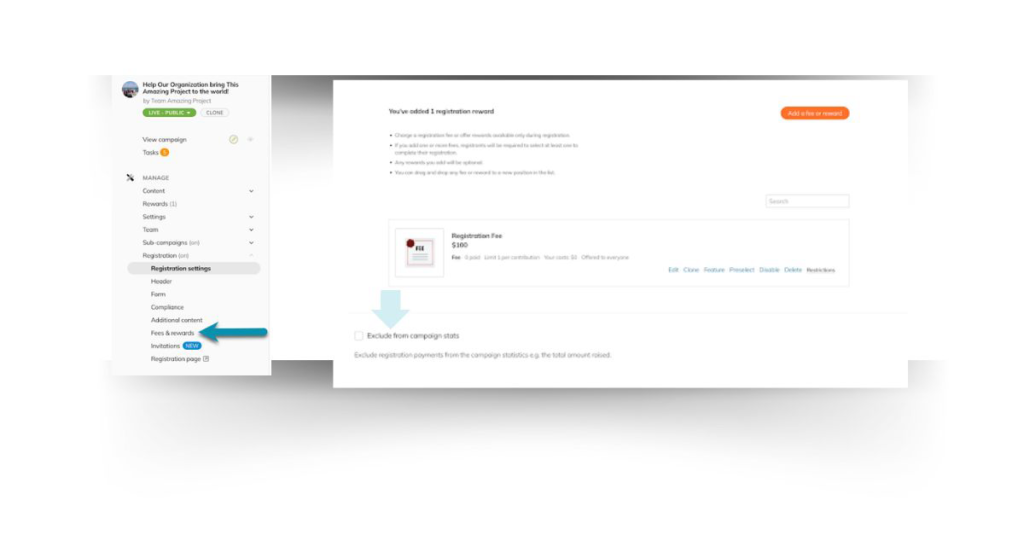
STEP 1—In the main campaign navigation menu, click ‘Registration’ and then ‘Fees & rewards’.
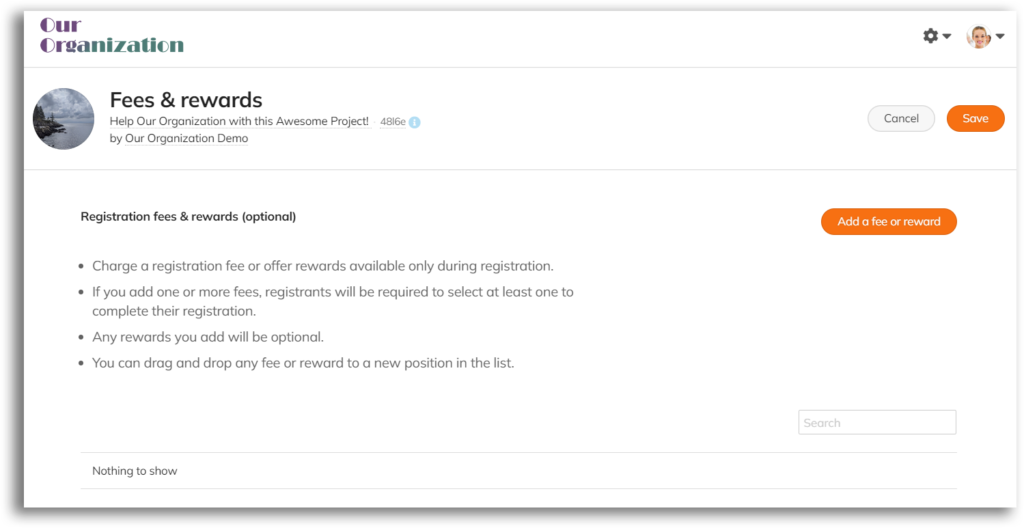
STEP 2 – Click ‘Add a fee or reward’
STEP 3 – Fill out the Basics for your fee or reward.
For detailed information on setting up rewards, read this article.
We’d like to draw your attention to the ‘Offer to’ section. This setting will help you determine whether you want different fees/rewards for Teams and Individuals.
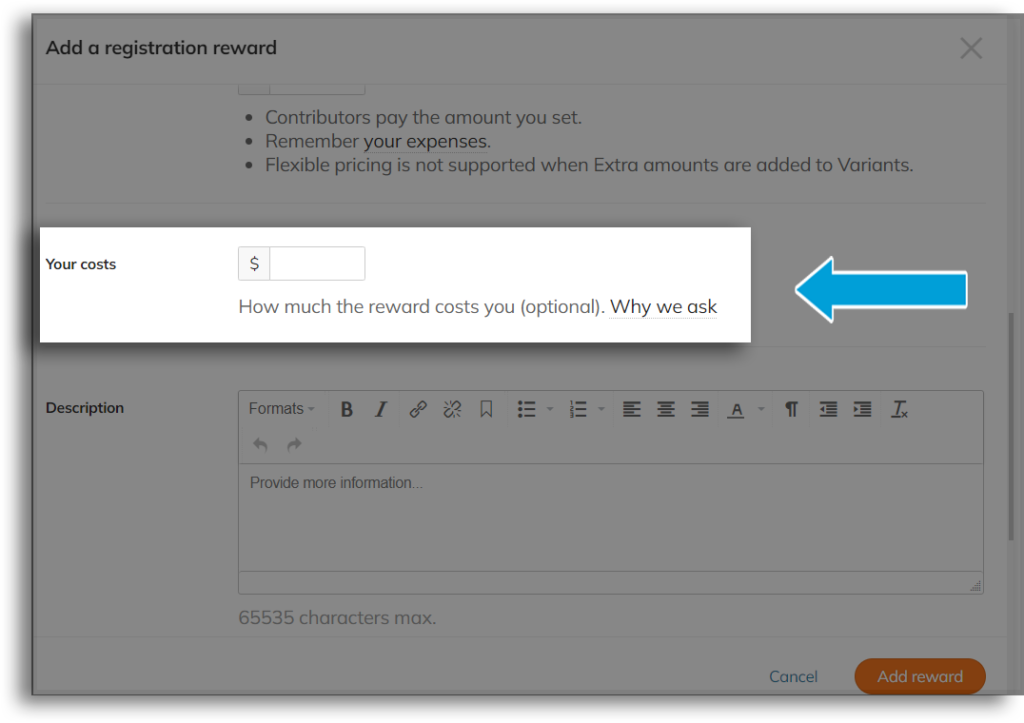
Important for non-profits: If you’re providing tax receipts and do NOT want the registration fee/reward included, make ‘Your costs’ match the registration fee amount.
Let’s go over some example situations and how you would set up the registration fee for each.
Scenario 1 – Everyone registering must pay a fee.
Set the ‘Offer to’ option to ‘Everyone registering.’ That may have been an obvious one…
Scenario 2 – Individuals pay one fee, and teams share another fee.
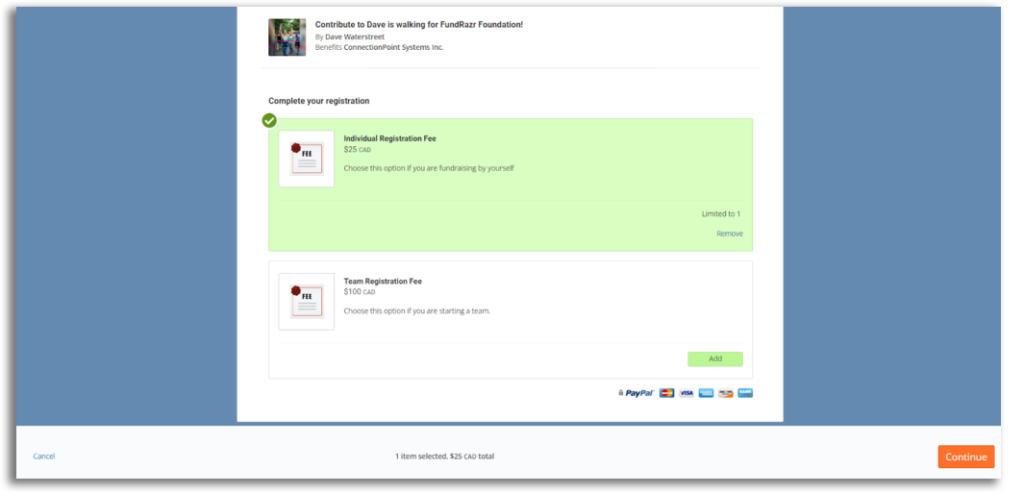
Create TWO fees and set BOTH to ‘Individuals and team creators.’ Name them ‘Individual Registration Fee’ and ‘Team Registration Fee.’ Fundraisers registering individually or as team creators will see both options and have to pick the correct one. This will require some management on your part to ensure fundraisers are choosing the correct fee. See how to do this easily in the next part of this guide.
Unsure which to choose? Ask us at support@connectionpoint.com.
STEP 4 – Click ‘Add reward‘ in the bottom right.
STEP 5 – SAVE!!
Important: Don’t want the fees or rewards to count towards your fundraisers’ goals? At the bottom of the Fee and reward page is the option to exclude these payments from the sub-campaign AND main campaign goals:
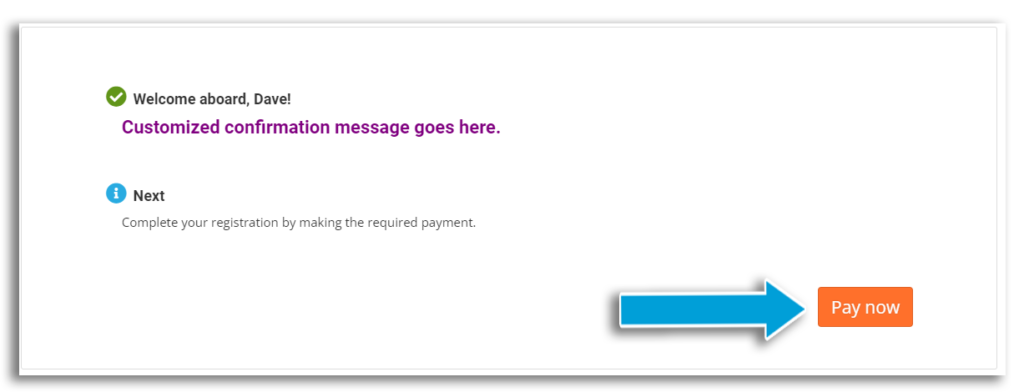
Fundraisers will be prompted to pay at the end of their registration process:
They can choose their fee (or reward) and continue in the regular checkout flow:
Waiving Fees #
Note: Only organization owners & managers and campaign owners/managers can waive fees.
Team members can close the registration window before paying the fee. Their campaign is hidden from the public until either they pay the fee or it is waived.
STEP 1: Click ‘Fundraisers’ in the main campaign navigation menu.

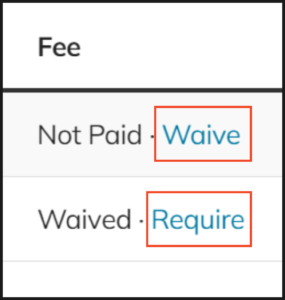
STEP 2: In the row for the registrant, select the ‘Waive’ button in the fee column. After waiving the fee, you can reverse the action by selecting ‘Require’.
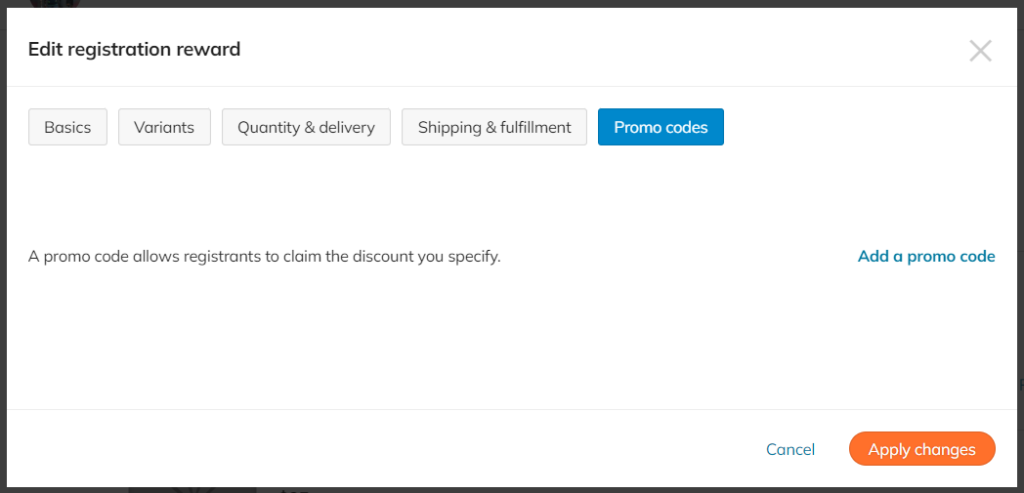
NOTE: You can also put ‘Promo codes’ on fees in the setup menu. Provide a 100% off code to registrants for whom you’d like to waive the entire fee.
