
Crowdfunding success is all about SHARING! Here, we’ll show you how you and your supporters can share this campaign and maximize success.
Remember, you are responsible for sharing your campaign to reach your goals!
Part 1: The Share Centre #
This centre is available to the campaign team only – your supporters will use the share bar in the next section. To view this centre, click ‘Share’ under the Engage section of your navigation menu.
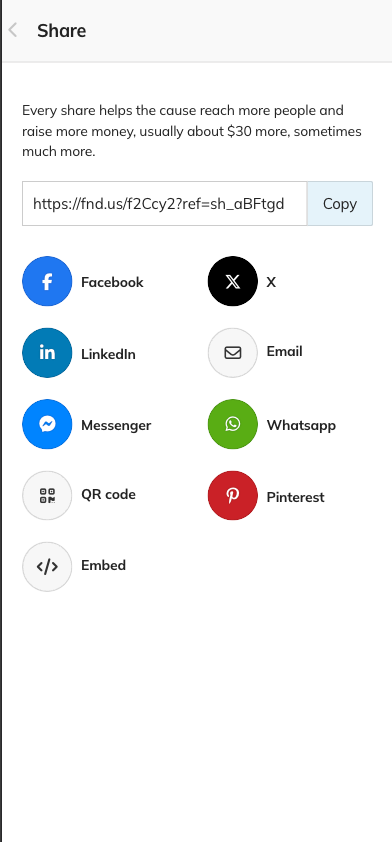
In this Share Centre, choose social or private methods to send this campaign to your network of supporters.

Your options are:
- X
- Facebook Messenger
- Link: Copy the shortcode to share via text, post to your TikTok, Instagram, or other social bios
- Print or download the QR code
- Embed a widget on an outside website
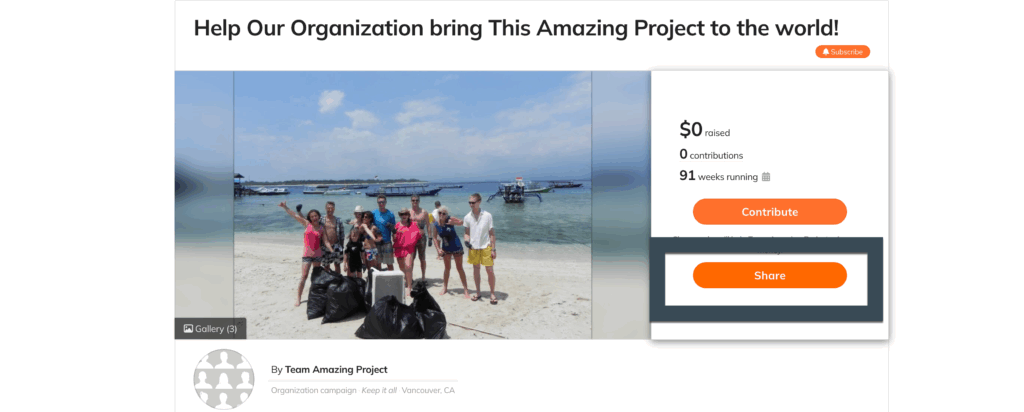
You will see a variety of ways to share your campaign. (see screenshot below)
What is personalized sharing?
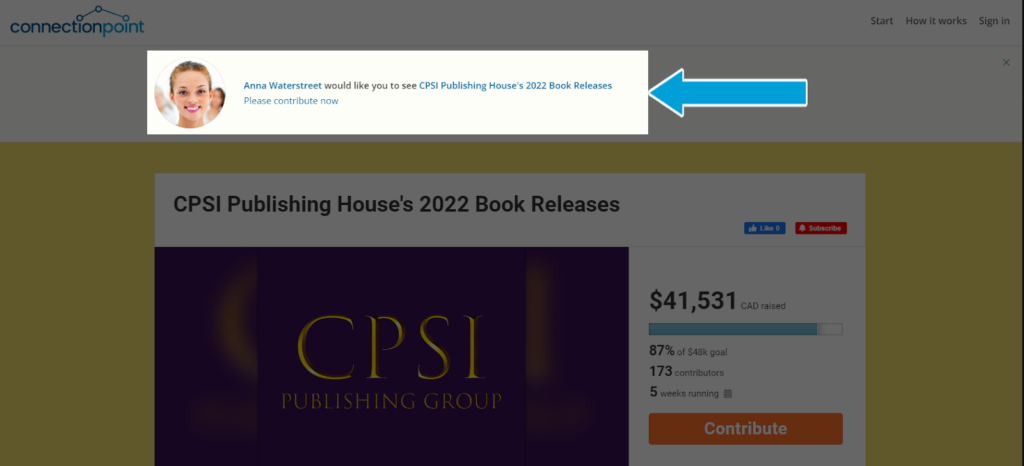
Each user account is linked with a personal referral tracking code. Whenever you view or share a campaign, you’ll see this referral code in the URL, beginning with ?ref= and then varying letters and numbers. Sharing campaigns with this code enables users to:
a) View a personal banner at the top of the campaign. Each campaign team member has their own banner, where they can personalize a written and/or video message to speak to their specific network. Helpful for proof that you are involved with a campaign! The platform will attach a default message (below) if not personalized.
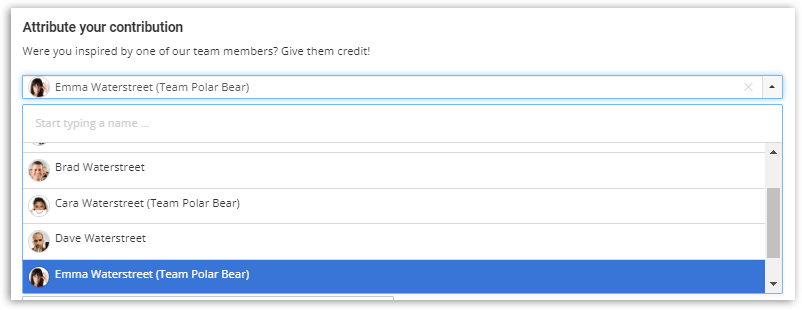
b) If there are multiple team members on a campaign and they wish to track who influences which contributions, this referral code tracks any contribution made by someone following a link shared by that specific user. This is also doable in the checkout flow (below).
Important notes:
- Clicking the “Enable personalized sharing” option off only applies to this share centre. It will not apply when sharing from the bar below.
- This option will re-check itself after each time it’s opened.
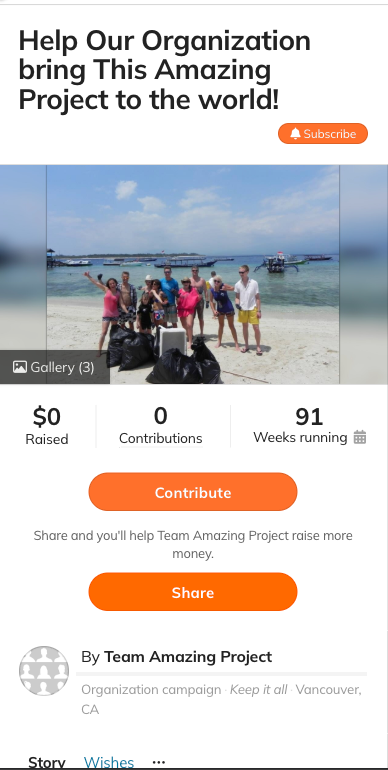
Part 2: The Share Bar #
Not only can the campaign team members share the campaign with the share bar, but supporters can also. Asking your supporters to help you further by sharing your campaign is key to crowdfunding success.
This bar and the share centre contain identical options, and the referral tracking code attaches automatically (if the supporter created a user account; otherwise, no tracking occurs).
For best practices on sharing campaigns, visit resources in the Fundraiser HUB (FundRazr, CoCoPay, and PetFundr users) and the Creator HUB (Crowdfundr users).


