
Gather any necessary information from sub-campaign owners and fundraisers by customizing form fields during registration.
All fundraisers are required to provide their full name and email address. However, there’s an option to customize the form and request additional information you may need. We recommend not asking for anything you do not actually need—this creates a barrier to registration, and you want as smooth a process as possible.
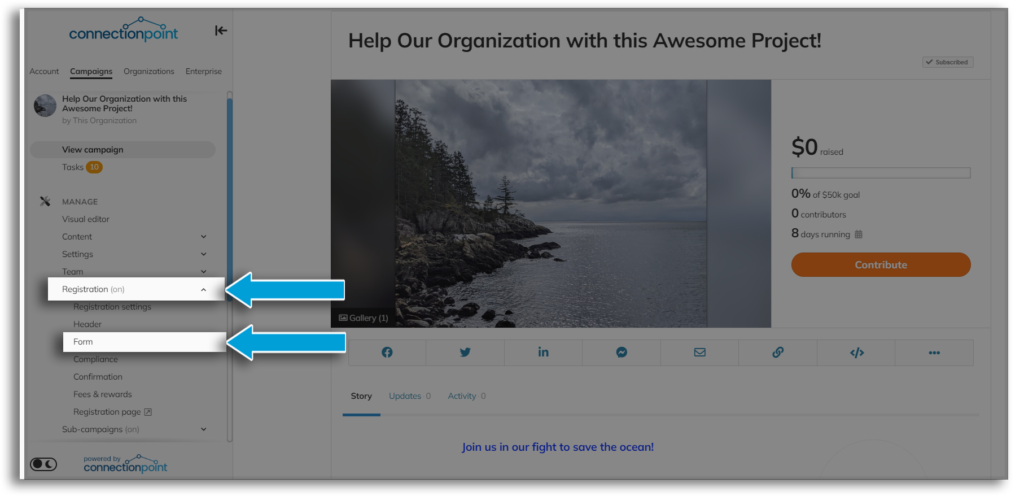
Under the ‘Registration form’ section of the Registration menu, scroll down to the ‘Customize your form’ section. We will be discussing two sections of this form: form fields and Form rules.
Form fields
Clicking ‘Add your first form field’ will open this window:
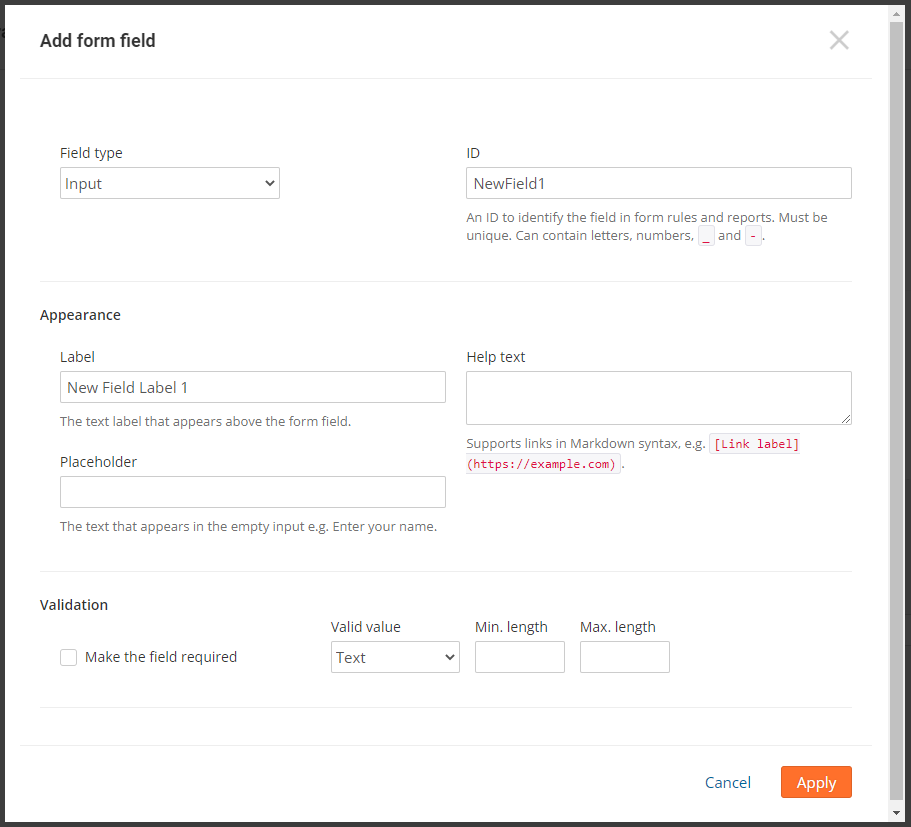
Field type
What would be the best way for this information to be represented?
- Input: fundraiser types in an answer that can be sub-defined as text, email, address, phone number, email, a URL, date, or number
- TextArea: a blank area for the fundraiser to type anything
- Select: The fundraiser chooses only one option from a dropdown list
- Checkboxes: The fundraiser chooses one or more options to check off
- Radio buttons: The fundraiser chooses only one option to check off
- File upload: Allow the fundraiser to upload an image or document from their device
- Rich text: Allows YOU to customize a message in the form. There is nothing for the fundraiser to do
- Terms/Waiver: Choose whether to have the fundraiser confirm they’ve seen the message you write by clicking a button or applying a digital signature. (*There is a more powerful option for waivers. See Part 8 of this guide.)
You can add up to three fields per line (you’ll be given the option to add the form field beside your current field or under it)
ID:
When you download the spreadsheet of your fundraiser information, this dictates what will show in this form field’s column title. Therefore, choose something (within the given restrictions) that makes sense and will help you organize the information.
*All other fields have varying options. The in-platform guides will help you out!
Form Rules:
You may only need some of your fields to appear in certain circumstances. For example, suppose you’re hosting a hybrid fundraiser that offers both virtual and live options. You need to know who is joining live and who will be attending virtually. You need food allergy information for all live attendees. You want to make it mandatory, but why make those attending virtually fill out those details? You only want the food allergy field to appear if the fundraiser has selected that they’re attending the live event.
Clicking ‘Form rules’ will open this window:
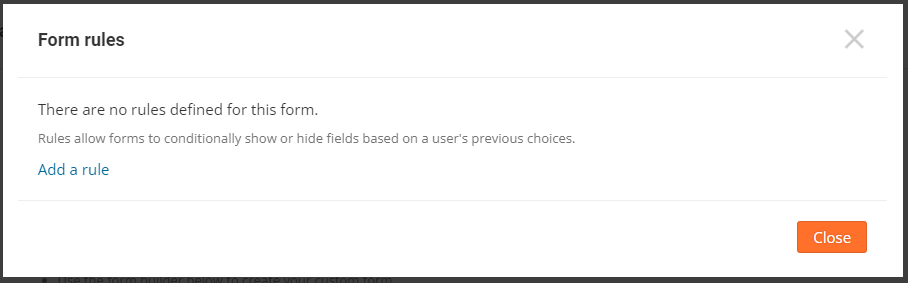
Click ‘Add a rule’ for options:
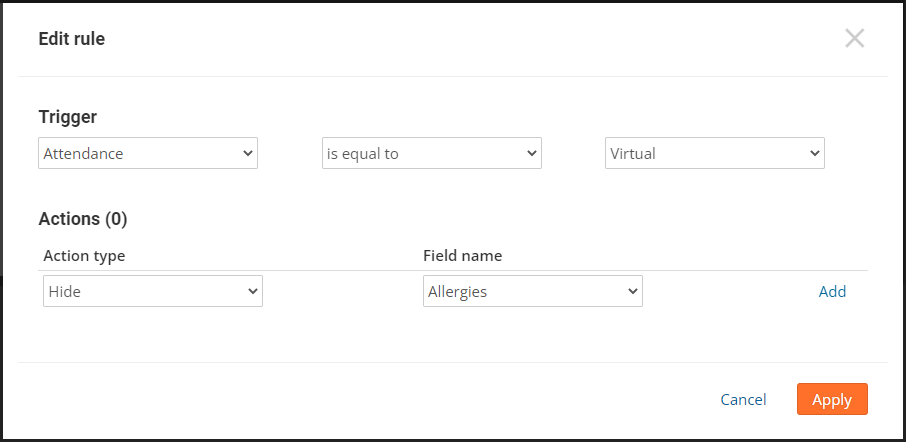
Using our example above, we have set the rule that when the fundraiser has selected ‘Virtual’ as their attendance, the platform will ‘Hide’ the ‘Allergies’ section from the fundraiser on the form. HINT: You have to click Add and then Apply!
**We highly recommend experimenting with these options to customize the form to your exact preferences. ** It takes a bit of practice – remember you can always delete and start over again! Let us know if you need extra assistance at support@connectionpoint.com.


