
All of ConnectionPoint’s platforms are set up to allow automatic tax receipts to be delivered once a supporter contributes.
Who qualifies for automatic tax receipts? #
NOTE: Only non-profit/charity organizations legally allowed to distribute tax-deductible receipts as dictated by their country of residence may use this feature of our platforms.
Is this you? Awesome! Our automatic tax receipt feature will send the necessary paperwork to your contributors, saving your non-profit or charity valuable time.
Setting up automatic tax receipts #
STEP 1 – Ensure your tax number is included in your organization profile.
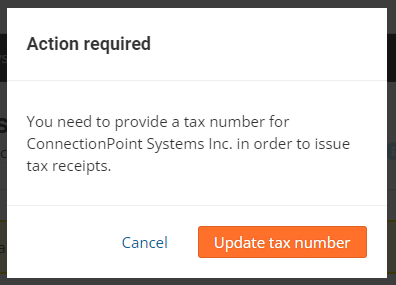
Without adding a tax number to your organization profile, the settings for tax receipts won’t appear. If you try, you’ll receive a notification to add it in… which is handy because it links you to the right setting!
Insert or update your tax number by clicking ‘Identity’ and then ‘Name & address’ in the organization profile navigation menu.
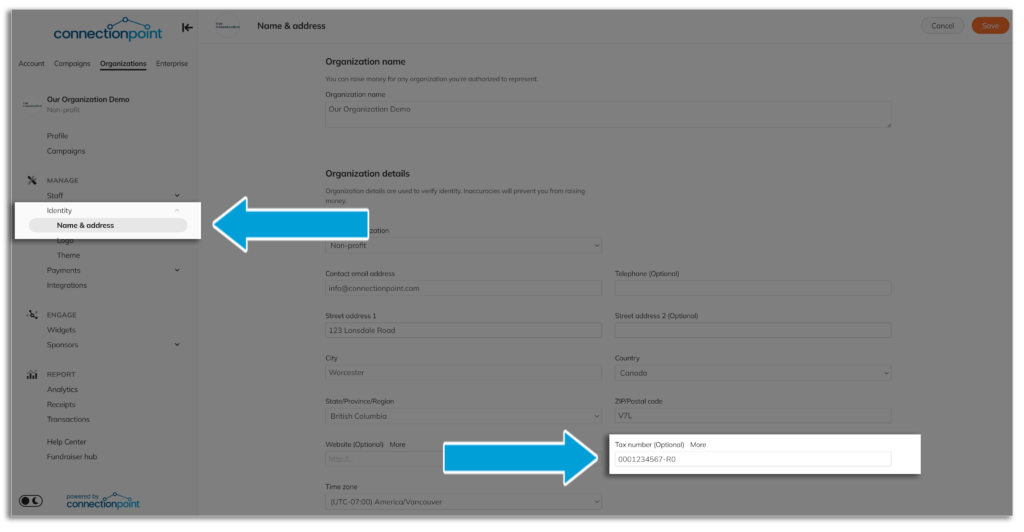
Enter your EIN (USA), CRA number (Canada), or whichever number is required in your region.
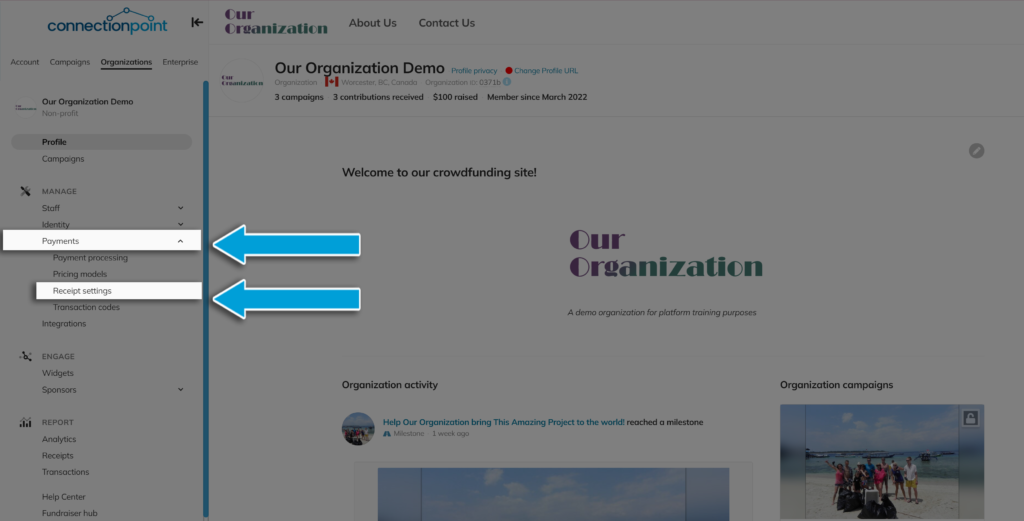
STEP 2 – Click ‘Payments’ and then ‘Receipt settings’ in the profile navigation menu.
Go back to your organization profile, and NOW you can go to the ‘Receipts’ setting.
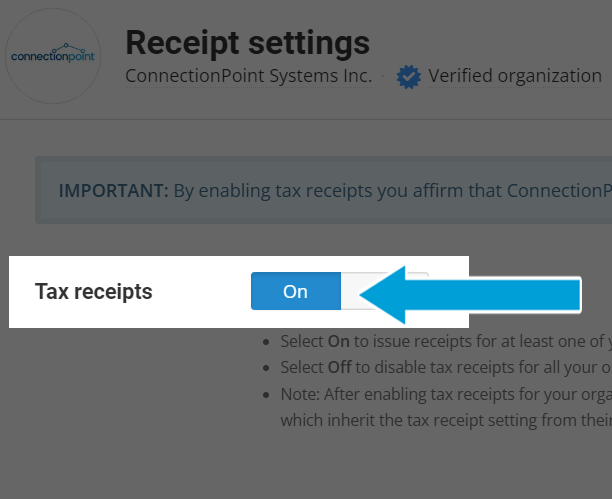
STEP 3 – Switch ‘Tax receipts’ to On.
We aren’t going to go through every setting; however, we will point out this key option:

We recommend you select the option to turn on automatic tax receipts for each new campaign automatically. It’s very easy to forget to manually do this each time you have something new going on, and you likely don’t want to have to remember this one tiny step.
STEP 4 – Choose whether you want to use our default template or customize a template.
Our default template contains everything you need and will save you SO MUCH TIME! Customized templates require specific features, must be in ODT format (a tricky bugger), and can’t be too big of a file. So why not save yourself the dreaded headache of trying to format a document for hours and use the one we’ve created for you?
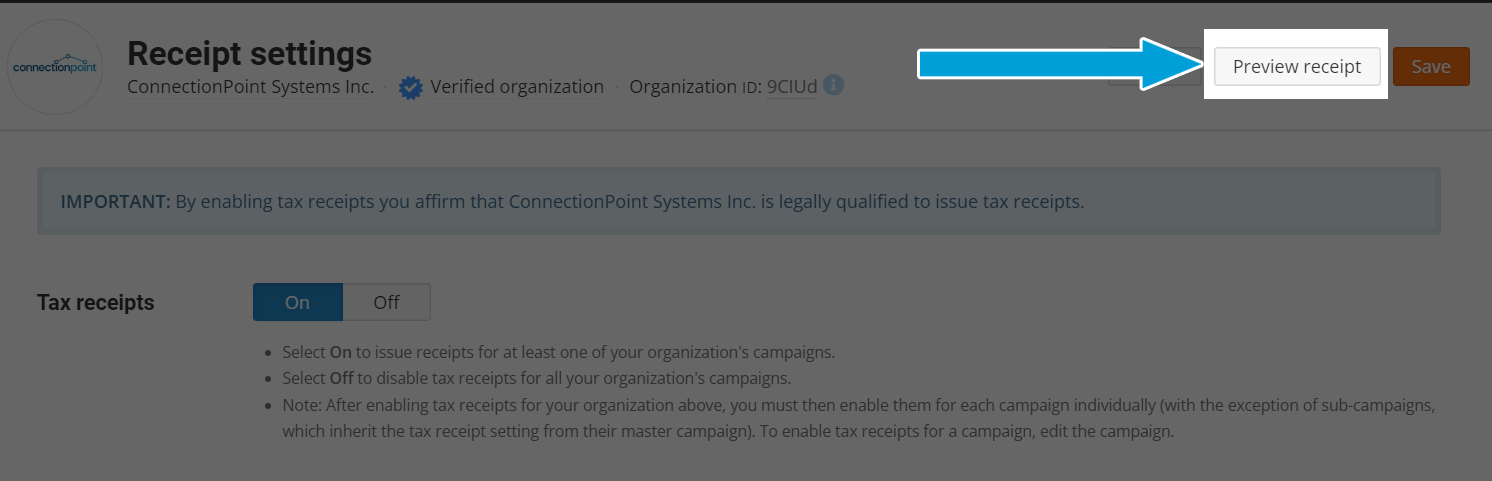
You can view what this will look like by clicking ‘Preview receipt’ in the upper right corner of the page (either with or without advantage):
*Canadian organizations: You will need to upload a signature from a signing authority of your organization:
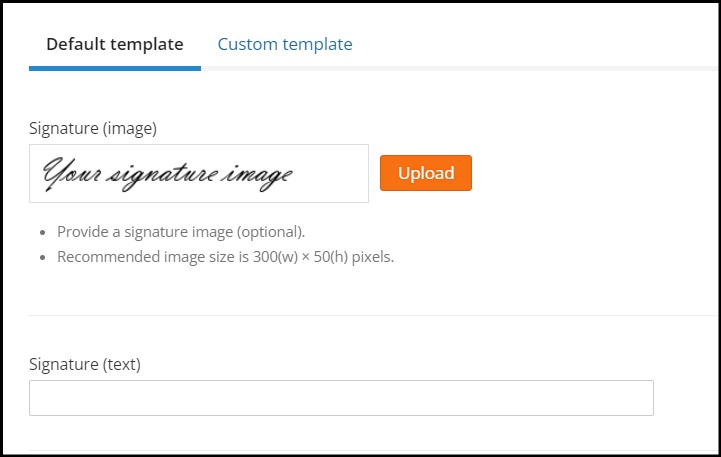
If you have trouble cropping your signature, just hit ‘Skip’ at the bottom. 🙂
STEP 5 – SAVE!

*NEW* Consolidated tax receipts for recurring contributions #
Rather than your supporters getting an email every time their recurring contribution processes, choose to send just one receipt. This receipt will be sent in mid-January of the following year.
Click here for how to set up recurring contributions.
In the Receipt settings menu, you’ll see the new option for sending consolidated receipts:
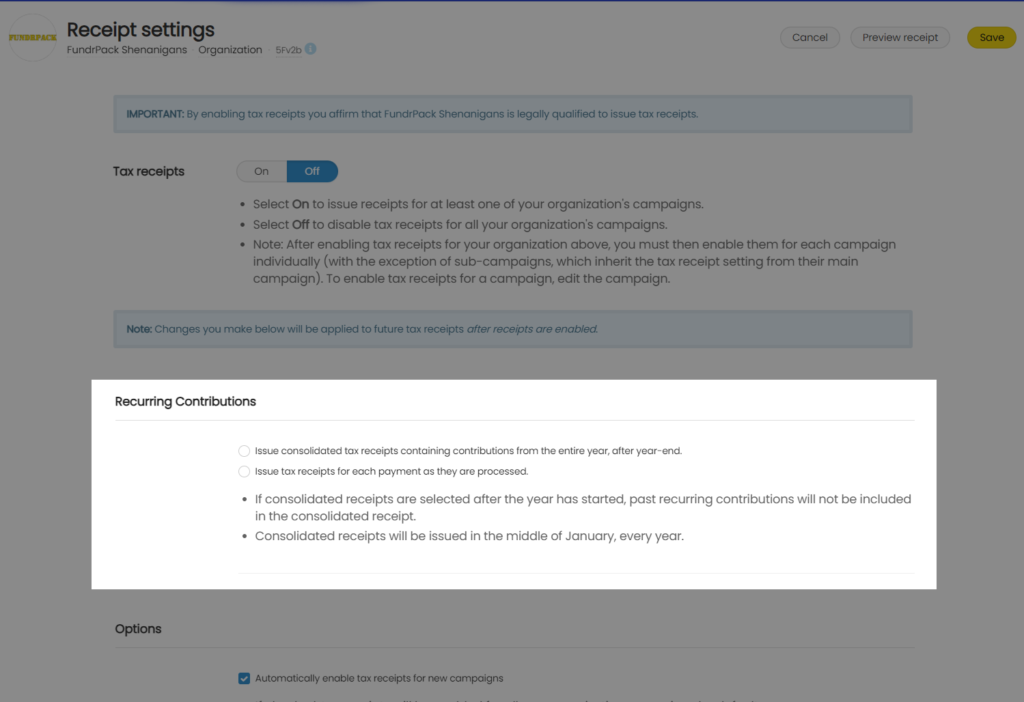
*Note – choosing this setting in the organization menu applies to ALL campaigns moving forward. You may also make this choice per campaign in the campaign receipt settings.


