
Customize organization widgets (which give an option for groups of widgets) to promote campaigns on outside websites.
Part 1: What the h-e-c-k is a “Smart Widget?” #
The ConnectionPoint suite of platforms supports a rich collection of “smart widgets.” A widget is an icon that links to your campaign (or a group of campaigns) and displays specific information about your campaign(s). We provide snippets of code for you to add to web pages to show campaign content or collections of campaigns in multiple locations.
While our campaigns all have simple widget capabilities, organizations can customize widgets to fit their campaigns and websites’ varying needs. The best part is that you do not have to be a professional programmer to create these.
Plus, “Smart” widgets automatically update with up-to-the-minute campaign results. You can select the content to display based on defined tags or various criteria such as “featured,” “trending,” “new,” “finishing,” etc., and the organization widgets on your website update automatically.
Widgets that present a collection of campaigns can optionally include a search function. With this, viewers can find a specific campaign within the collection based on text fragments such as their friend’s or team’s name or even keywords within the campaign content.
Part 2: Types of Widgets #
Several widget types/styles are available, depending on whether you’d rather display campaign content or provide access to creating or managing campaigns.
Single Campaign Widget #
A single campaign widget shows the most basic information about a campaign (title, description, photo,
the amount raised, etc.) in a small “badge format.” There are many different-sized badges available.
- 300×250 web banner ad size
- 300×450 blog post size
- 220×440 side column size
- A generic “tall” format with variable width from 180-400 pixels
- A generic “wide” format with a variable width from 340-600 pixels
These size options make it easy to fit the campaign information into standard web pages on different websites.
300×250 web banner ad size

300×450 blog post size

Wide badge

Multi-campaign organization widgets #
Carousel Widget – a carousel of selected campaigns
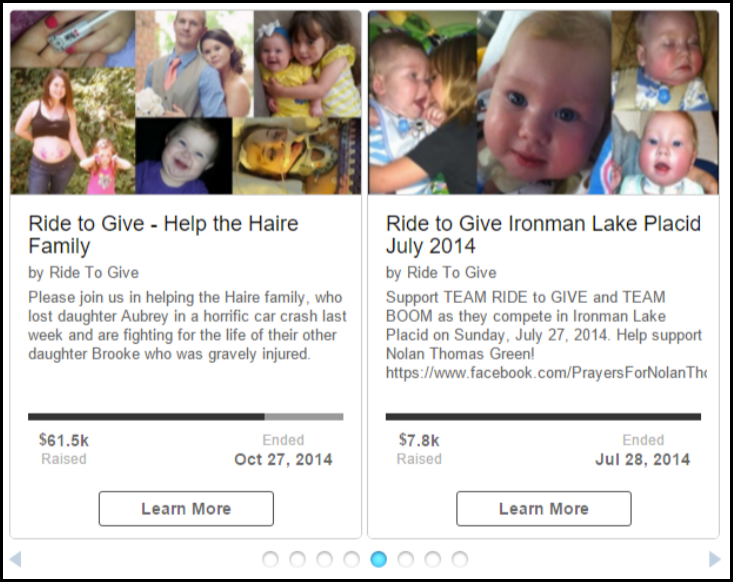
These can be in a slider or fader format and have various sizing and effects options. The primary use of this smart widget is to highlight “featured” campaigns on a partner’s website. Shown below are side-by-side (2 columns) 300×250 and 300×450 representations. You may choose to hide navigational controls below the badges.

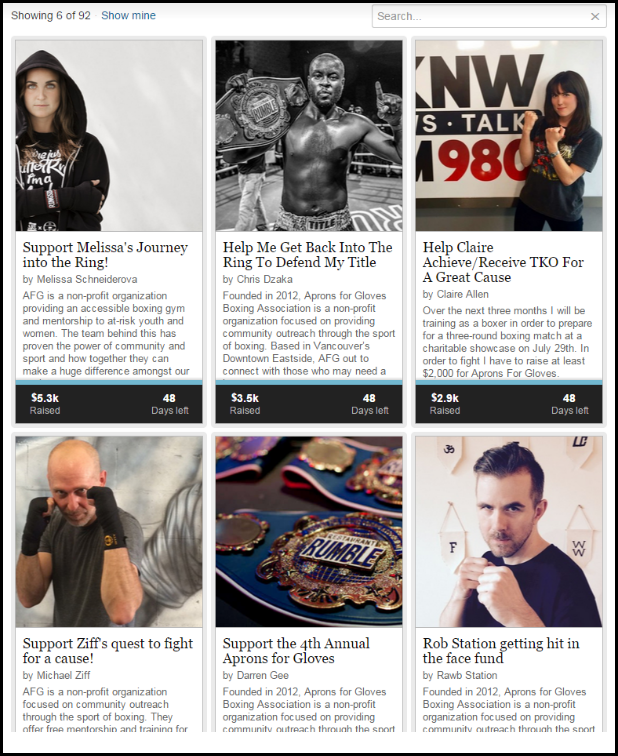
Grid Widget – a searchable grid of campaigns
The grid options vary (height, width, badge size/type), and you can sort them by results, time, or randomly. Below is a grid with “tall badges.”
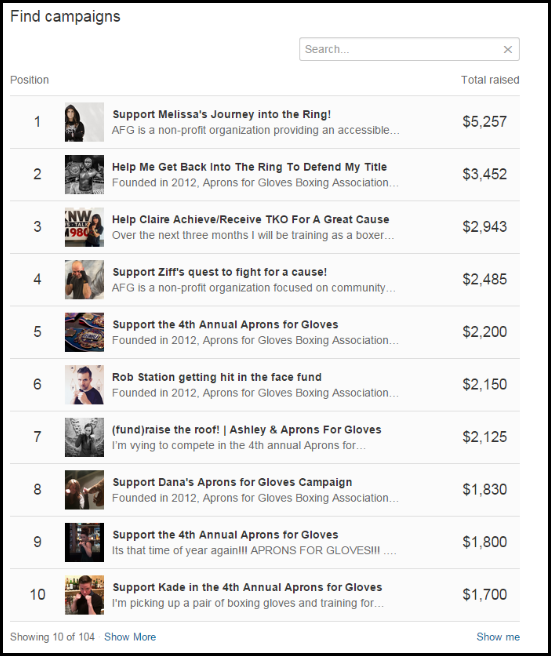
Leaderboard Widget – a searchable leaderboard of campaigns
The leaderboard sorts by amount raised and can show results from within a single campaign
e.g. showing the fundraising results of campaign promoters (and/or campaign managers) or can be
based on comparing whole campaigns against each other, e.g. showing the results of different teams
competing with each other.
Part 3: Creating and managing organization widgets #
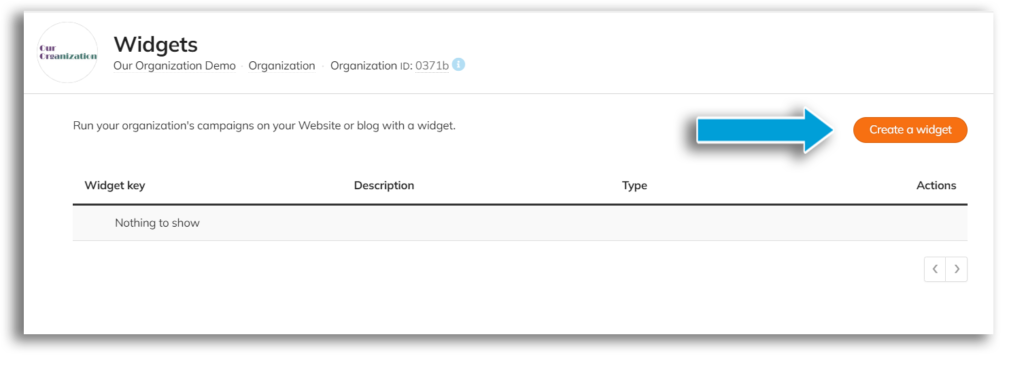
STEP 1 – Click ‘Widget’ in the navigation menu of your organization profile (Under ‘Engage’).

STEP 2 – Click ‘Create a widget.’
Or ‘Edit’ for a widget you’ve created already.
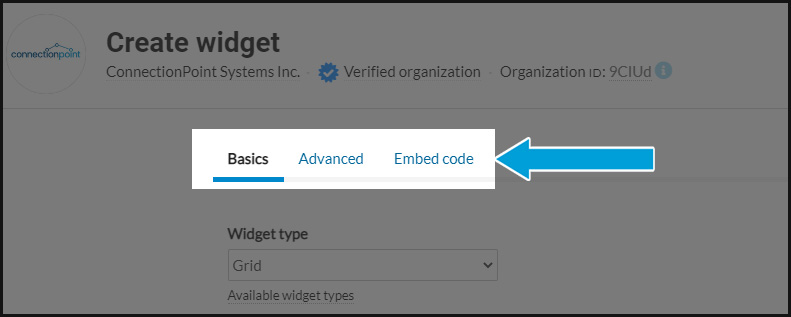
STEP 3 – Customize your widget.
There are MANY different options here, and we aren’t going to go over each one because there is also in-platform guidance to help you out. But we’ll help here in some key areas!
Choose your widget type first, then customize the features. There are Basic and Advanced features (Advanced isn’t available for all widget types). Make sure you explore options in each.
Widget Key
When creating a new widget, you must set a unique key name for it and select the type of widget.
This key lives within the custom script that loads the widget to identify it. The short description is not
shown publicly, but it is helpful to help you remember why you created the widget and perhaps where you
Campaign ID
Depending on the widget type, you may need your campaign ID. This is a mix of letters and numbers in your campaign URL after the “.com/.” For example, the campaign ID is 8f22j at www.crowdfundr.com/8f22j.
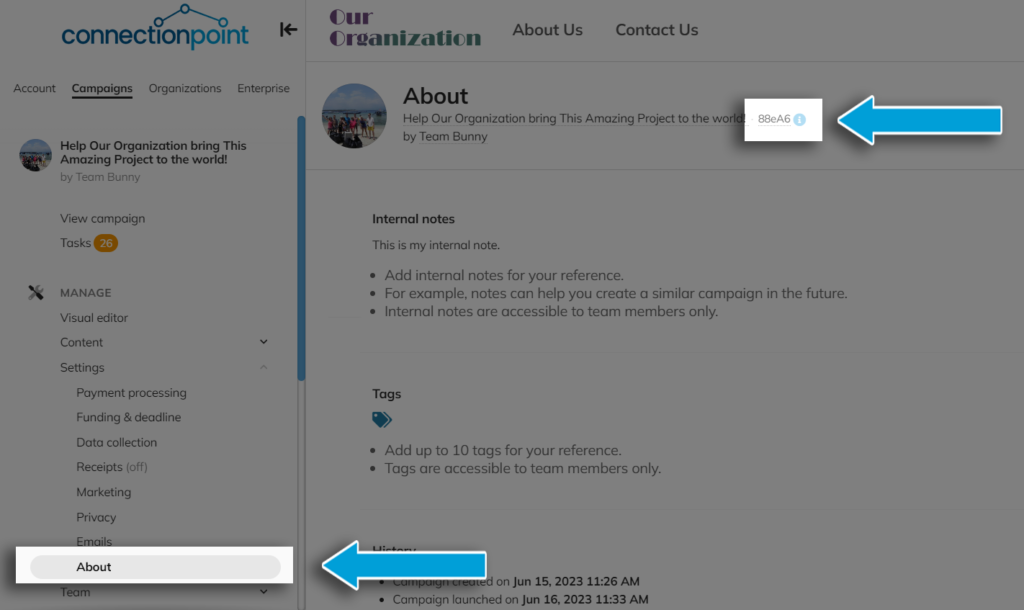
NOTE: If you’ve customized the URL, you’ll need to go to your campaign’s ‘About’ section to find the ID (see below).
NOTE²: You’ll notice a reference code after the campaign ID in the URL. This begins with a question mark (‘?’), then ‘ref=’ and a string of letters and numbers. This is your reference code, and it is NOT part of your campaign ID. It actually links to your User Profile!
You can also find this by looking in the ‘About’ section of your campaign’s sidebar menu:
Tagging
To make life easier, you can ‘tag’ campaigns to group them for different purposes, including grouping widgets for carousels or grids. You can apply as many discrete word “tags” to a campaign as you need.
Examples of tag uses include:
- Categorization – grouping campaigns by category for financial reporting or marketing purposes (e.g. all cancer-related healthcare campaigns)
- Localization – grouping campaigns by location or referring entity (e.g. all campaigns within the named region within a specific state or province)
- Featured – identifying campaigns for additional promotion on a website or email blast.
Preview
The ‘Basics’ page has a preview at the bottom to ensure everything looks as you’d like.

We encourage you to get comfortable with the different settings available. If you’re curious about what a certain setting does, change it and find out! You can always edit your widget or start a completely new one if you believe you’ve messed up (which we doubt—you’re awesome!).
STEP 4 – SAVE!!

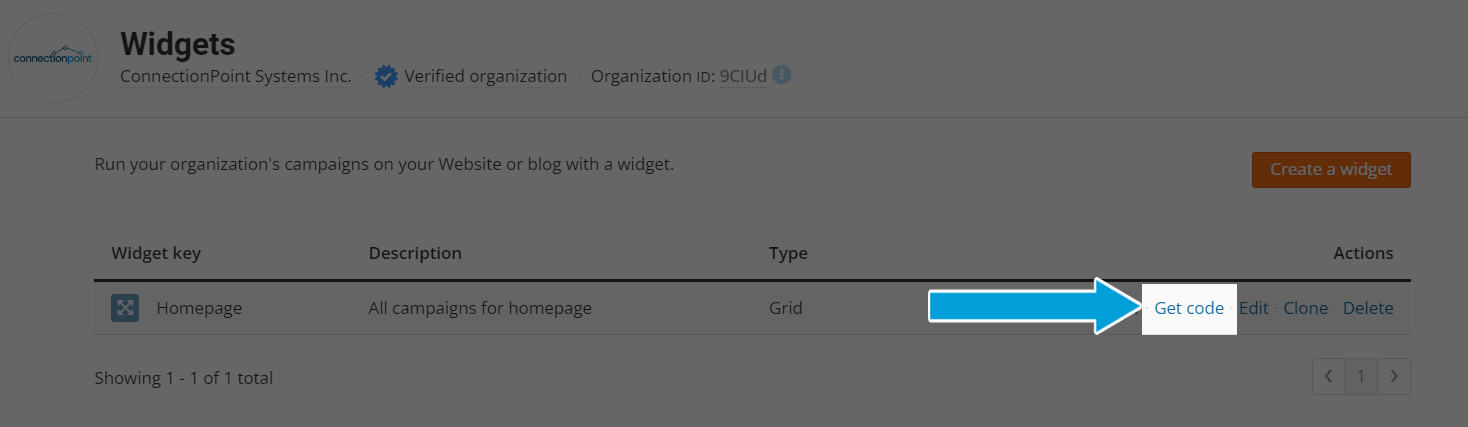
STEP 5 – Click ‘Get code’ in your new widget’s line.
After you save, you’ll go back to the main widget menu, where you can grab your code:
Part 4: Installing organization widgets #
Once you’ve clicked ‘Get code,’ you’ll see options to click a Loader script and a Widget script.
Copy & paste both the Loader code and the Widget code into the source code for your website.
Loader script—This is the JavaScript that enables the widget. You can place this snippet anywhere on the page, but it works best in the Header or Footer.
Widget code—This is the code for the widget. Place this snippet where you want it to appear on the page.
Part 5: Restrictions & Tips #
- If you use WordPress.com or a similar Content Management System (Weebly, Wix, Squarespace, etc.) to host or build your website, these widgets may not work. WordPress and other CMSs tend to strip JavaScript from the source code before loading the page for a visitor.
- This link might help IF you have some advanced HTML knowledge:
http://codex.wordpress.org/Using_Javascript
- Most email clients and newsletter services can’t run JavaScript, the language used to write the loader code. Therefore, you will probably not be able to embed a campaign widget in an email or newsletter.
Our engineering team is phenomenal—they did build our platforms, after all! They are always happy to answer questions if you’re stuck. Just message us at support@connectionpoint.com with your widget questions, and we’ll get you the answers you need.


